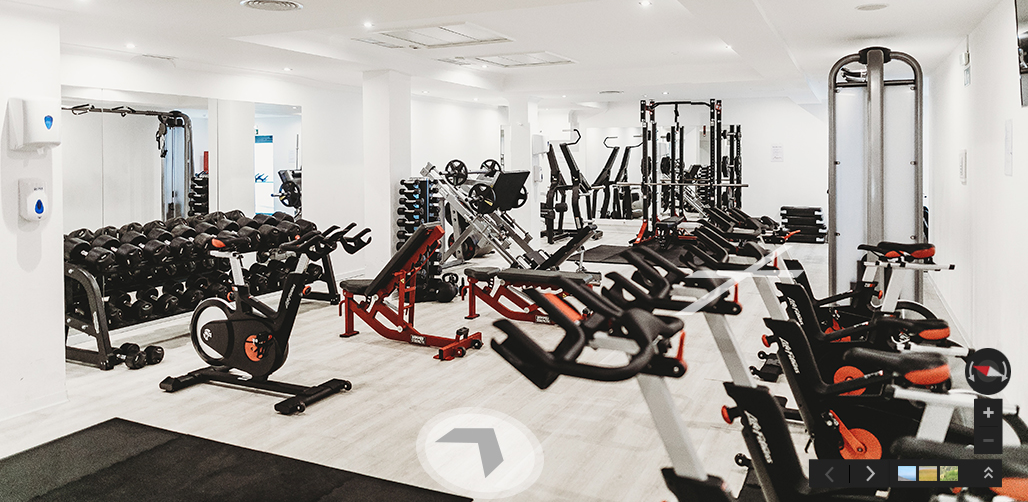
More people are searching for Gyms on Google Maps than ever before. According to Google, customers use mapping products 44% of the time when searching for businesses. For any fitness business, big or small, location information, user-submitted reviews and photos are important tools to establish credibility.
As a Gym or Fitness Center owner, you must already have a basic presence on Google Maps. Adding a virtual tour of your business will boost its search visibility and allow your potential clients to get a feel of and fall in love with your establishment even before taking a single step inside. You can showcase your gym or fitness center's latest equipment, facilities, floor plan and location.
What is a Virtual Tour on Google Maps?
A virtual tour is a simulation of a location, composed of 360 photos allowing users to move through the area as if they were there. Adding virtual tours to businesses can result in doubling of web page click-through rate from Google searches and more time spent on the Google Maps listing.
Here is an Example of a Google Maps Virtual Tour:
Adding a Virtual Tour of your Gym or Fitness Center on Google Maps
What you need:
- A smartphone with a camera. Alternatively, you can use a specialized 360 camera. This guide will focus on taking and uploading 360 photos with a smartphone.
- Google Street View app downloaded to your smartphone. Download Street View for iOS or Android.
- An active internet connection.
And that's it!
Steps to follow:
You can read from start to finish or skip to a section.
Taking 360 photos with your smartphone on Google Street View
Uploading the photos to Google Maps
Connecting the photos to create a Virtual Tour
Taking 360 photos with your smartphone on Google Street View
- Open the Google Street View App
- Click on Camera Icon
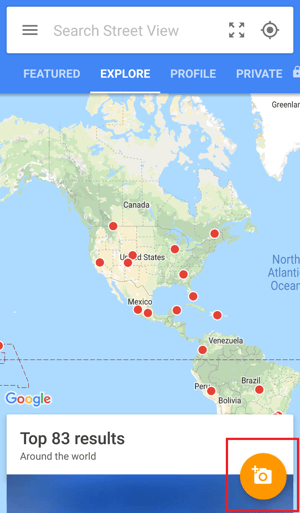
- Click on Camera Icon.
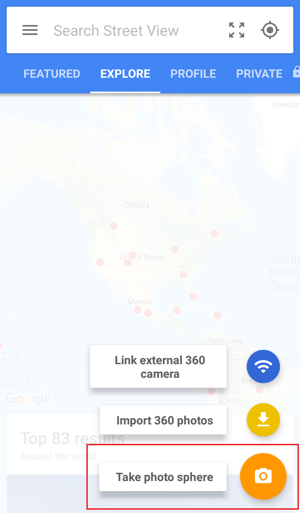
- Target the orange dots with your camera to cover the full sphere.
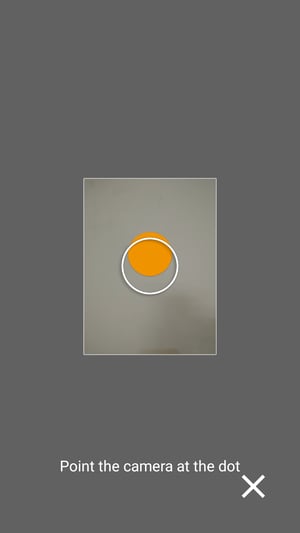
Congratulations! You’ve taken your first 360 photo! Just wait for the camera to stitch the images to make a 360 photo.
Note: If you have existing 360 photos of your phone, click on the Camera Icon in the Google Street View App and select Import 360 photos. Select the photos to upload.
Uploading the photos to Google Maps
- Click on Add a Maps listing and select the location of your gym or fitness center. Do the same for all the 360 photos you have taken of your gym or fitness center.
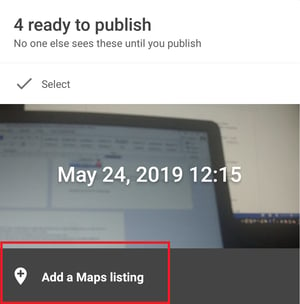
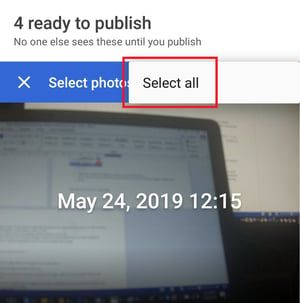
- Select all the photos by first clicking Select, then the 3 dots, and lastly Select All.
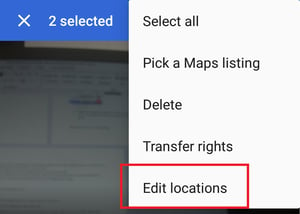
- Once selected, click on Edit Locations. Make sure all the pictures are correctly positioned.
- Click on Publish to upload the photos.
Congratulations! You’ve uploaded 360 photos to your gym or fitness center's Google Maps listing!
Connecting the photos to create a virtual tour
- Select all the photos of your facility under the Profile tab in Google Street View app.
- Click on the 3 dots and select Move and connect photos.
- You can zoom in for a better view.
- You can also change between map and satellite view by clicking on the icon at top right corner.
- Tap on the line between photos to connect them.
- For each photo, you must also reorient the photo by sliding the equirectangular view left or right.
- For each photo, you must also place the correct compass orientation by sliding the compass indicator left or right.
- Once you’re done, click on Tick to finish.
Get Ahead Of the Competition
With a virtual tour on Google Maps, you are offering a view of what your gym looks like from the inside. The prospect will be spending more time on your Google Map listing and may be sold on your gym even before stepping a foot inside. You are more likely to get a visit from someone who has seen your gym from the inside on Google Maps than someone who has not.
Make a Lasting Impact
While your potential customers take a tour of your facility on Google Maps, you can focus on delighting your existing customers with fun events hosted right in your gym or fitness center.
